If you have been dreaming of a walk-in closet as seen in many movies, don’t let your narrow bedroom stop that. As long as there is a 4’ x 4’ area in this space, it’s totally possible to DIY one. Doubt about my words?
Read this guide – here is how to build a walk-in closet in a small bedroom that I successfully did.
Choose A Place For The Walk-In Closet
The minimum space for a walk-in closet is 4’ (W) x 4’ (L).

If the walk-in closet can only take up the space of your bedroom, consider utilizing one corner of the bedroom. Frame a space along one or two existing walls if your bedroom layout is open, otherwise, frame-off an alcove in it.
If the bedroom is adjacent to a bathroom, use the space near the bathroom for your walk-in closet so that activities flow more nicely.
In case you want to cut through any wall to make the walk-in closet, make sure that wall isn’t the load-bearing one. Otherwise, it will cost a lot later to fix.
Ask a professional to help if you aren’t sure about that.
Determine The Size And Layout Of Your Walk-In Closet

To easily figure out the desired size and layout of the walk-in closet, you should think about:
- Its mobility when spacing things out
- The additional functions - do you also want to use it for ironing and folding clothes?
- Type of storage options
- Sorts of things you want to store in this place – is it just for storing your clothes,shoes, and accessories, or any other stuff?
- The door type of this walk-in closet, which mostly depends on the existing space you have
Sketch out your dream walk-in closet, then start to test mock layouts in the chosen space to find out dimensions.

A trick to make this step easier is to utilize tacks and string, then stake out all the layout options until figuring out the one that both fits the available space and meets your preference.
Here are some bonus tips for you to consider:
- The space for coats and dresses should be at least 70” tall (from the ground) and it should be easy to access
- Try to add a double-hang space within your design to optimize the storage capacity
- Allot 1” per regular item and 1.5” per bulky items – such as seasonal coats when you are calculating hanging space
Next, measure the strings to get the dimensions.
Check If You Need Permission To Build A Walk-In Closet

To make sure that this project isn’t eligible, contact the building department of your city to check if the local laws require any permission to build a walk-in closet in the existing space.
In most cases, if the closet requires adding lighting, you will need electrical permission.
Clean The Chosen Place For The Walk-in Closet
Once you have the design of your walk-in closet, start cleaning the area that you intend to renovate.
Get rid of all the old items and clean them thoroughly.
With the existing wall that is going to be a part of the walk-in closet, pry the baseboards off. Besides, pull up any carpet in the room, roll, and temporarily store it somewhere until the project is done.

Build A Walk-In Closet
Determine The Studs For Anchoring New Walls

As you’ll need something to secure new walls in place, find the studs along an existing wall that is going to be used for this project.
Each stud must be 16” from the center to the next.

Measure that existing wall, too (using a 2X4 and drawing a straight line along with those studs from the floor to the ceiling).
Cut New Walls
To create the footer and header plates, cut two 2X4s to the first wall’s length that is needed for construction.

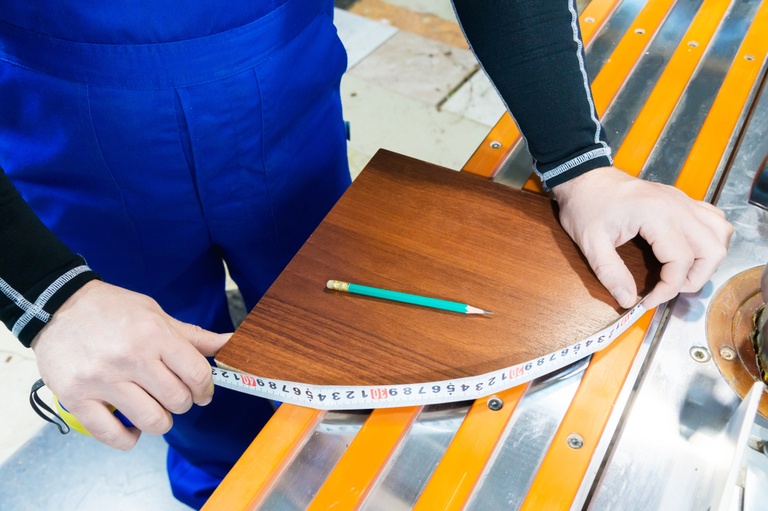
Mark stud spacing on the 2X4s using a permanent marker and a tape measure.
Cut 2x4s to the desired height for the new walls to stand. Remember to add two more studs for the end caps.
Secure the header plate on top and the footer plate, then secure the rest into their slots.
With the wall containing the closet door, the process is the same as above (from marking for studs to nailing studs and header). There’s just one extra step - which is to mark the door space on the footer plate.
Note: When marking for studs, remember to skip over the door space.
Now, cut a 2X4 to the door width and secure it across the gap at the door height to create a door header.
Install New Walls
Install each new wall into place, make sure that it lines up with the marks you made before.
Check if they sit straight by using a level; if they’re not straight, consider adding shims.
To secure the new wall to the existing wall, nail the end studs every 2’ through the existing wall. Liberally nail between studs along both the footer and header plates to secure the new wall to the ceiling and floor.
Add Shelves And Other Items

Cut sections of 2X4 between studs, then secure them between studs where you need extra structural support to hang items and shelves.
The more studs, the more flexible.

Cut the existing carpet to make it fit the new walk-in closet. Add extra lights to this area if you want.
Conclusion
That is how to build a walk-in closet in a small bedroom. This project is arguably easy to carry out and it takes around a day or two to finish. If you follow this guide thoroughly, the whole process will be even faster. I hope you liked my sharing. Thanks for reading!


