Thermofoil cabinets are a great option for those who want the look of painted cabinets without the hassle of maintaining them. However, one downside to Thermofoil is that the surfaces can start to peel over time. If your Thermofoil cabinets are peeling, don't despair! In this blog post, we will show you how to fix peeling surfaces on Thermofoil cabinets.

The Reasons For Thermofoil Cabinets’ Peeling
But first, let’s see why Thermofoil cabinets are prone to peeling.
Thermofoil materials typically start peeling off furniture after several years of use. But this process might come sooner due to the following causes:
- Direct touch with water
- High-humidity environments
- High heat
How to Fix Peeling Surfaces on Thermofoil Cabinets
What You'll Need
Here's what you'll need:
- A putty knife
- Fine-grit sandpaper
- A clean cloth
- TSP (trisodium phosphate)
- Paint (optional)
Steps To Fix Peeled Thermofoil Cabinets
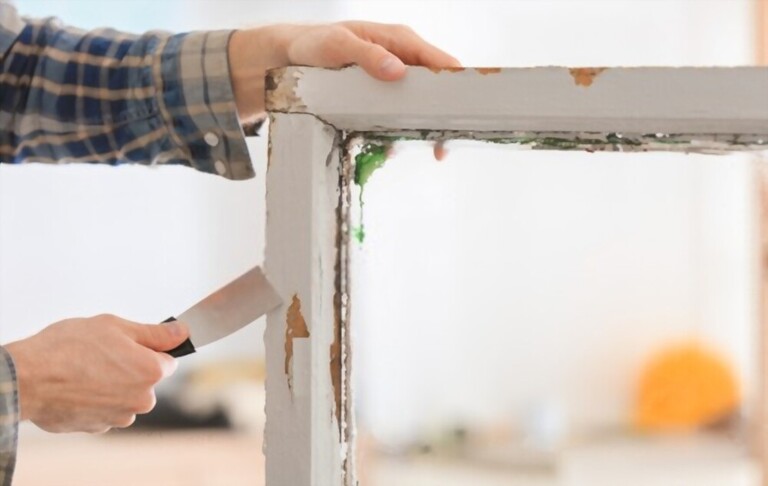
Remove The Old, Peeling Thermofoil
This can be done with a putty knife or a razor blade. Be careful not to damage the underlying wood surface as you peel away the Thermofoil.

Next, use the TSP to clean the entire surface of the cabinets. This will ensure that the new paint will adhere properly.

Once all of the old Thermofoil has been removed, you'll need to sand the surface of the cabinet to create a smooth finish.
For this task, you can utilize either an orbital sander or a hand sander.

If you're using an orbital sander, be sure to utilize fine-grit sandpaper to not ruin the wood surface.
Utilize Contact Cement For Back Coating
After sanding, you'll need to apply a thin layer of contact cement to the back side of the cabinet.
For your information:
Contact cement is a type of adhesive that is used in many industries, including the furniture industry.
It is commonly used for bonding two pieces of wood together, but it can also be used for other applications.
One such application is known as back coating, which helps to keep the piece from warping or cracking over time.

Applying back coating is a simple process. Here is how:
1. Ask someone to help you hold the MDF away from the Thermofoil.
2. Apply a thin layer of contact cement to the top of the MDF and the back side of the Thermofoil using a brush or roller.
3. Coat the margins of the repair area with contact cement.
4. Allow the cement to dry for at least 30 minutes before proceeding.
5. Apply cement to the MDF under the peeling vinyl edge.
Safety notes: Follow the manufacturer's instructions for best results. Make sure that the area you will be working in is well-ventilated.
Press Both Materials Together
Press both materials together and secure them in place for 60 minutes.
Tips: To secure the Thermofoil onto the MDF core, try using two flat scrap wood pieces and a carpenter’s clamp. Then, apply flexible protective material on the Thermofoil’s surface.
The flexible protective material can be applied to the surface of the cabinets to help protect them from peeling. This material is available at most hardware stores and is easy to apply.
Simply follow the instructions on the package and apply the material to the surface of the repaired area.
Wait For The Glue To Dry
Allow this layer to dry before using or handling the cabinet.
It can take anywhere from 24 to 48 hours for the second layer to dry, depending on the type of Thermofoil used and environmental factors such as humidity and temperature.
While waiting, use a piece of clean cloth or your fingers to wipe off any excess cement.
Once it is dry, you will need to sand it down so that it is flush with the rest of the cabinet surface. Then, you can repaint or re-stain the cabinets as desired.
Apply A Clear Sealant

Finally, apply a clear sealant over the repaired area to protect it from future peeling and wear and tear.
Conclusion
We’ve just walked you through an ultimate guide on how to fix peeling surfaces on Thermofoil cabinets. Following these simple steps, you don’t need to call a professional or replace your peeling Thermofoil cabinets entirely. With a little time and effort, you can fix them and make them look good as new in no time. Thanks for reading!


