Thinking about giving your kitchen cabinets a fresh coat of paint? It sounds like a fun and easy project, right?
Well, it can be, but only if you steer clear of some common pitfalls that many DIYers stumble into. From paint that peels to cabinets that just won't look right, there are plenty of ways things can go wrong.
Before you grab that paintbrush, let's talk about the most common mistakes people make when painting kitchen cabinets—and how you can avoid them. Trust me, a little knowledge can save you a lot of frustration and ensure your cabinets look fantastic!
Painting Pitfalls: Common Mistakes to Watch Out For
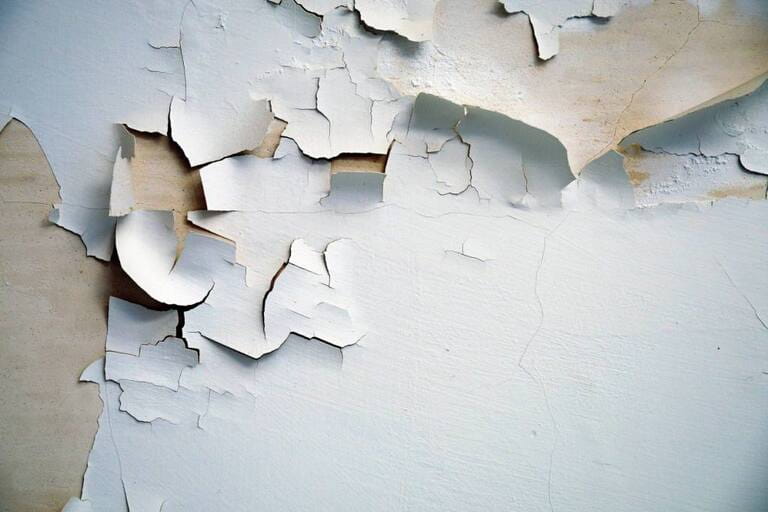
1. Skipping Surface Preparation
Getting your cabinets ready for painting involves cleaning, sanding, and priming. If you skip these steps, the paint might not stick well, and you could end up with a less durable finish. Plus, any imperfections or glossy spots might show through the new paint.
2. Not Removing Cabinet Doors and Hardware
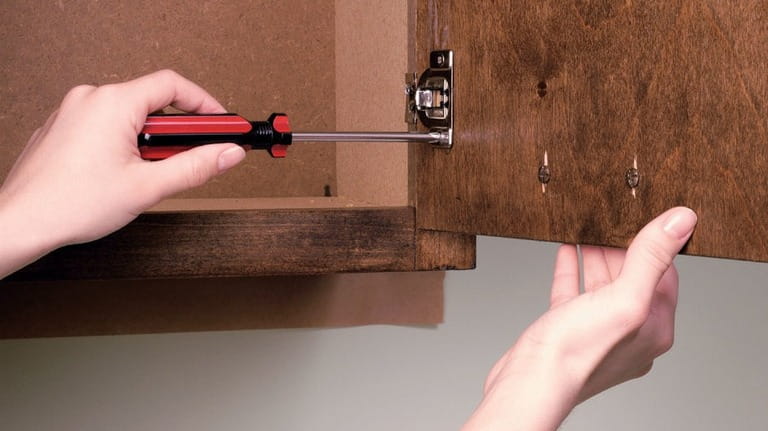
Leaving the hardware on can make painting messy and uneven, and you might get paint on it, which looks unprofessional.
Not taking off the doors can make it tough to paint the cabinet frames neatly. Plus, you won't be able to paint areas blocked by hinges, leaving visible unpainted spots.
3. Using the Wrong Type of Paint
Poor paint adhesion
Using paints not specifically designed for cabinets can lead to issues like poor adhesion, an inconsistent finish, and color fading. Since kitchen cabinets endure frequent use, grease, and moisture, opting for the wrong paint can result in quicker wear and tear.
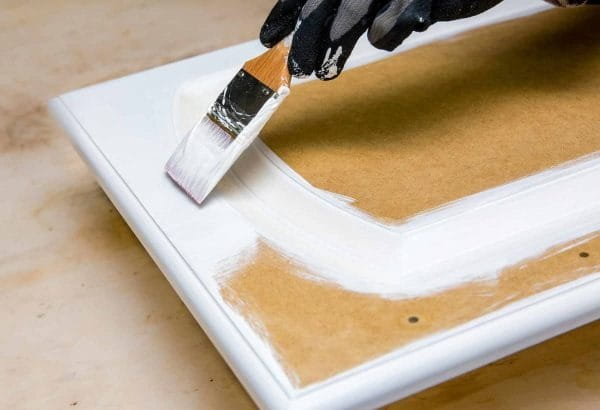
4. Skipping Primer
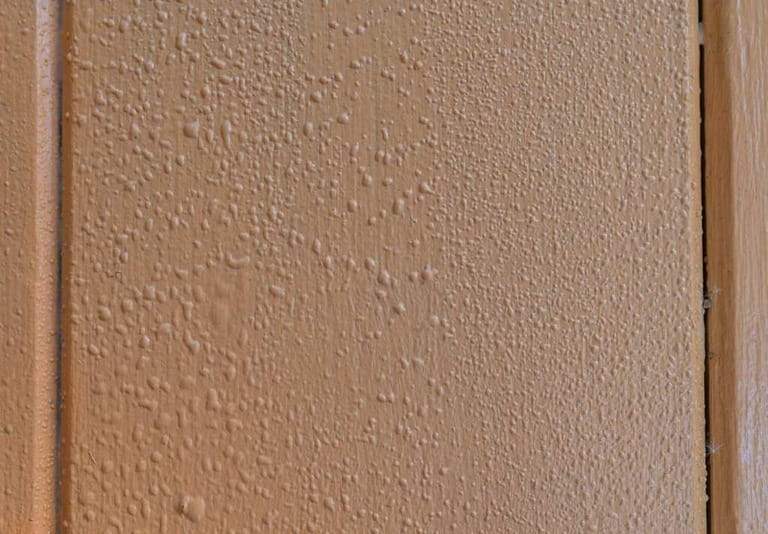
Paint blister (bubbling)
Thanks to its high concentration of solid and adhesive binder, primer can help your paint go on smoother and stick better. So, skipping primer can actually waste more paint than you need to smooth the surface and might lead to uneven coverage, peeling, bubbling, and chipping.
5. Poor Sanding Technique
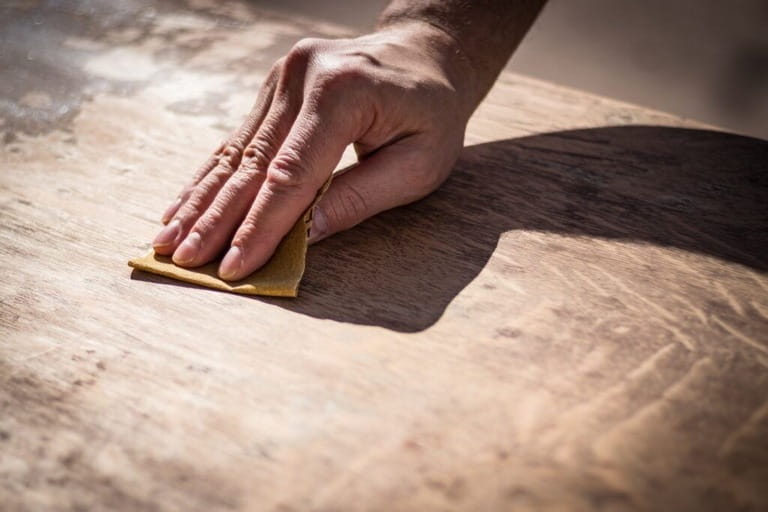
If you don't sand your kitchen cabinets properly, the paint might not stick well, which can cause it to peel, chip, or flake over time. Plus, any old paint, stains, or wood grain could show through, messing up the look of your new paint job.
6. Incorrect Paint Application
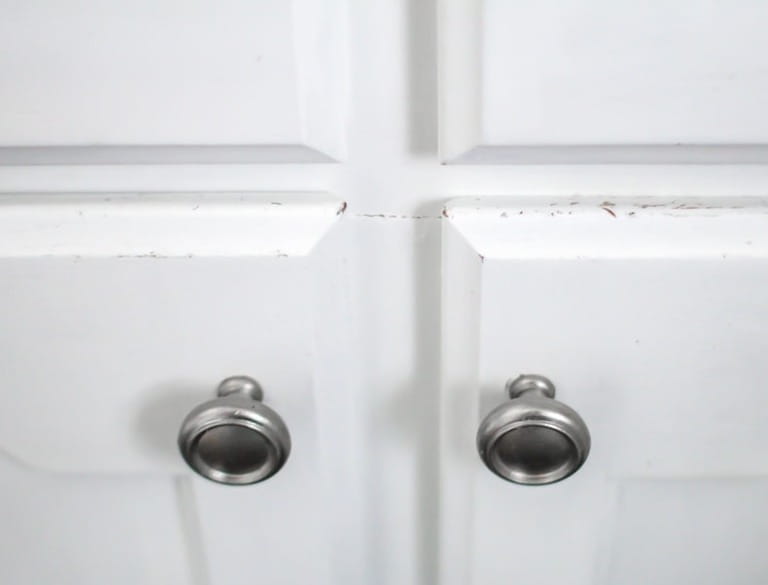
Chipped paint
When it comes to painting kitchen cabinets, applying just one thick layer of paint might seem like a time-saving shortcut. However, it can lead to many issues. A single thick layer of paint is more prone to chipping and peeling. Over time, as the cabinet doors are opened and closed, the stress on paint can cause it to crack or flake.
7. Inadequate Drying Time
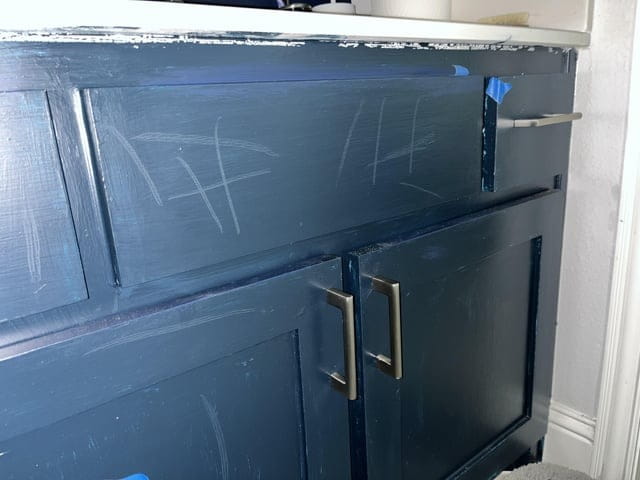
Ugly marks
If you don't let your kitchen cabinets dry completely before reattaching them, you risk ruining all your hard work and having to start the repainting process from scratch. Patience is key to avoiding chips and marks on your cabinets.
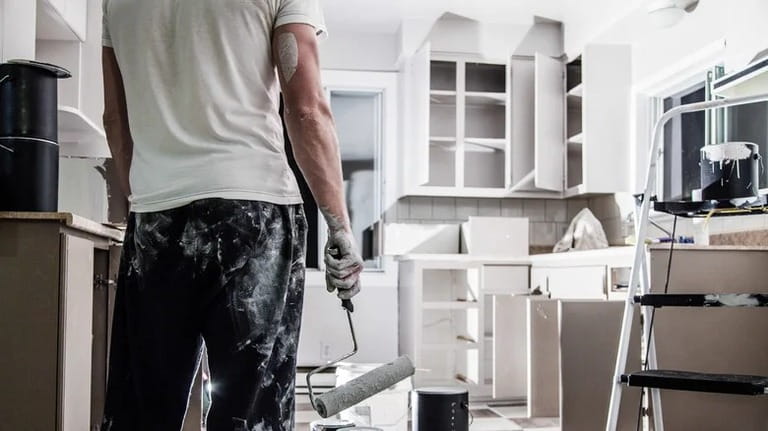
8. Using Low-Quality Brushes or Rollers
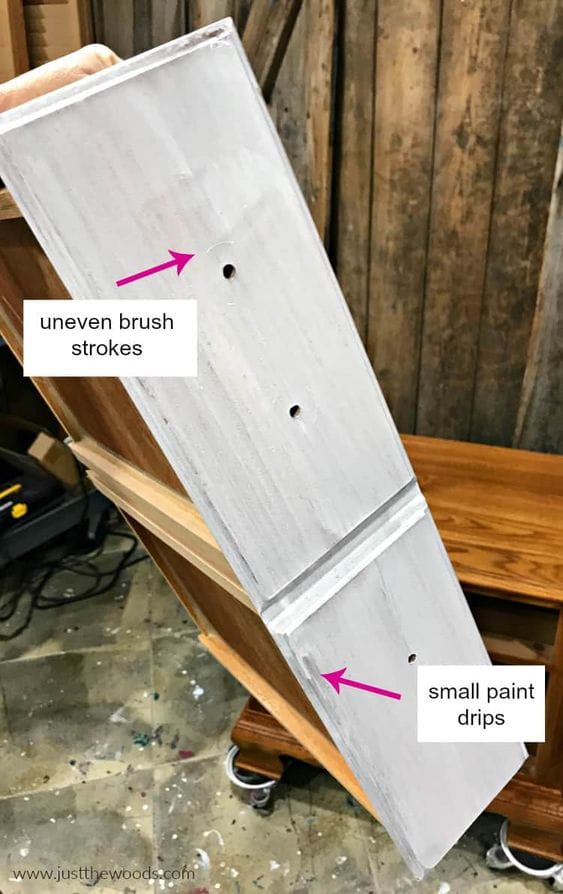
If you use low-quality brushes to paint your kitchen cabinets, you might end up with noticeable brush strokes because of their uneven bristles. And with cheap rollers, the paint might not go on evenly, leaving you with a patchy finish.
9. Overlooking Safety Precautions
Why is it important not to skip safety precautions when painting your kitchen cabinets? Well, some chemicals in paints can irritate your skin and sinuses. Plus, painting near electrical outlets without covering them can be really dangerous.
10. Failing to Test Paint Color
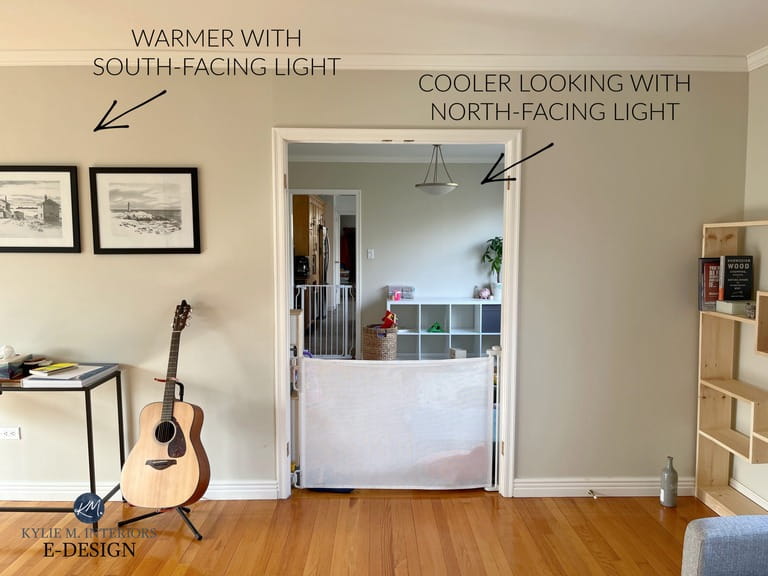
The same paint color have different looks with different light exposures

Lighting can change paint color perception.
When choosing paint colors for your kitchen cabinets, keep in mind that they can look quite different under various lighting conditions. Skipping this step might lead to your cabinets not quite matching the rest of your kitchen. Imagine a cabinet color clash with elements like countertops, backsplash, and flooring – not the harmonious vibe we're going for!
11. Neglecting to Seal the Paint
While sealing the paint isn't a must-do step, you'll notice over time how your kitchen cabinets are negatively affected without it. For instance, scratches, splatters, wear, and other damage can all take a toll.
How to Avoid These Mistakes
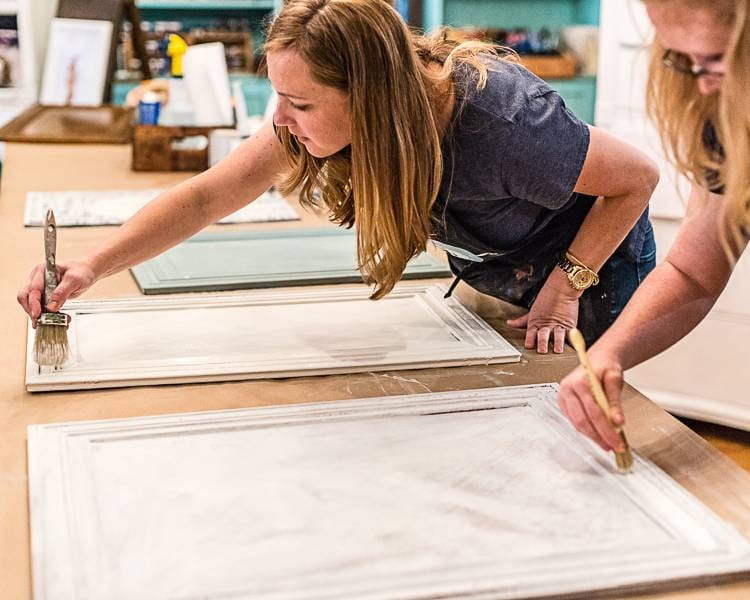
1. Thoroughly clean, sand, and de-grease cabinets before painting.
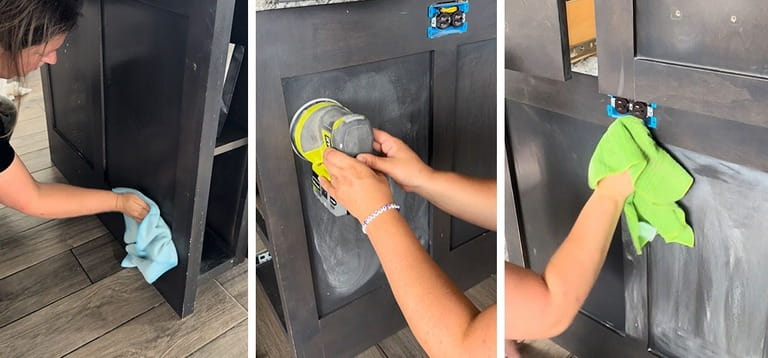
To get rid of dirt and dust on your kitchen cabinets, wipe them down with a cloth and use a degreaser to tackle the kitchen grime. Then, sand the surfaces to create a smooth finish that helps the paint stick better.
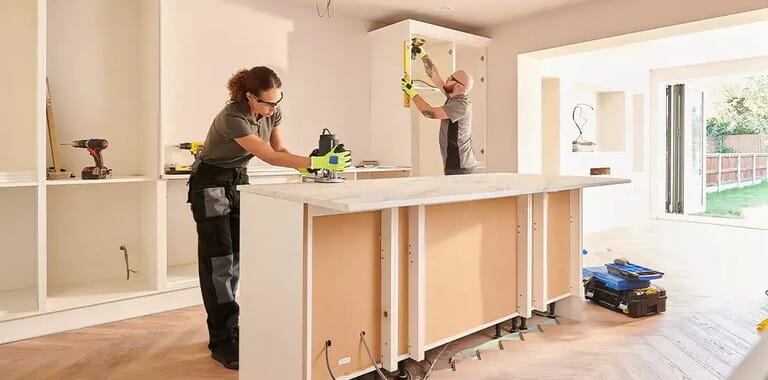
2. Remove all doors, hinges, and handles before starting.
After taking off the doors, hinges, and handles, set aside the hardware you won't be painting. Move the cabinet doors to your garage or another workspace for painting. These spots aren't high-traffic areas, so you won't have to worry about bumping into them while the paint dries.
3. Use high-quality, durable paint designed for cabinets.
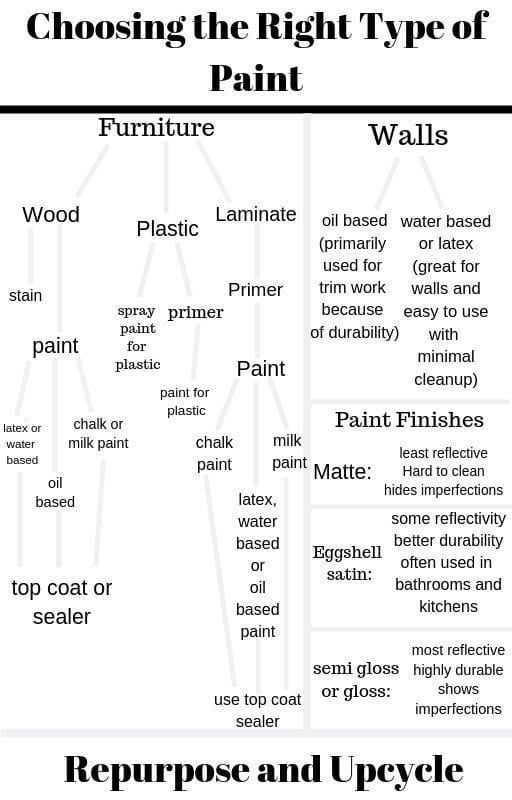
You should choose high-quality, durable paints specifically designed for cabinets as they are durable enough to use in a high-traffic area like kitchens. Some types of paints for kitchen cabinets include acrylic latex enamel, alkyd-based paint, and specialty cabinet paints.
4. Always use a primer to ensure better adhesion and coverage.

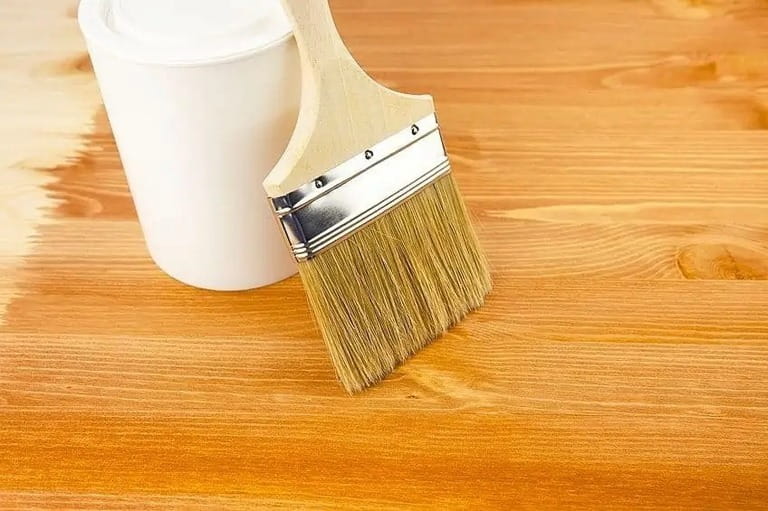
Oil-based primers are the best primers for kitchen cabinets
While primers can improve adhesion and coverage, they don't all work the same way. Oil-based primer is fantastic for kitchen cabinets with smooth or lacquered finishes that are hard to paint. It's like the glue that helps the first coat of paint stick well.
5. Sand thoroughly between coats for a smooth finish.
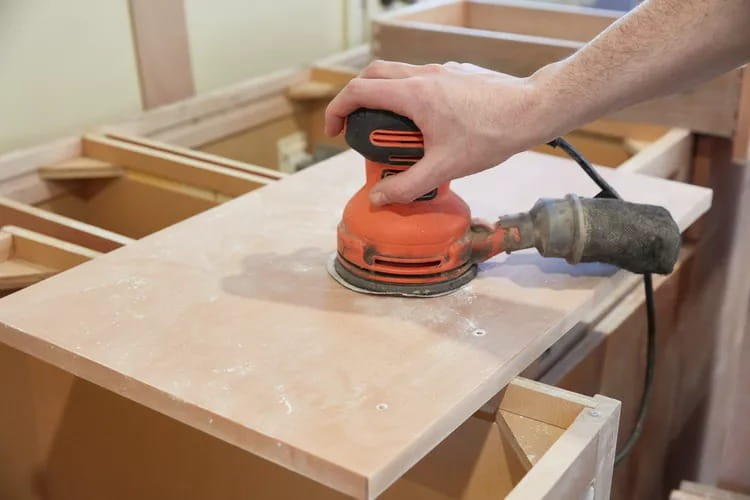
Before sanding, make sure to fill in any nicks, chips, dents, or knots on the surface using wood-grain fillers or wood putty. This way can keep everything smooth, no matter if you sand by hand with coarse sandpaper or use an orbital sander.
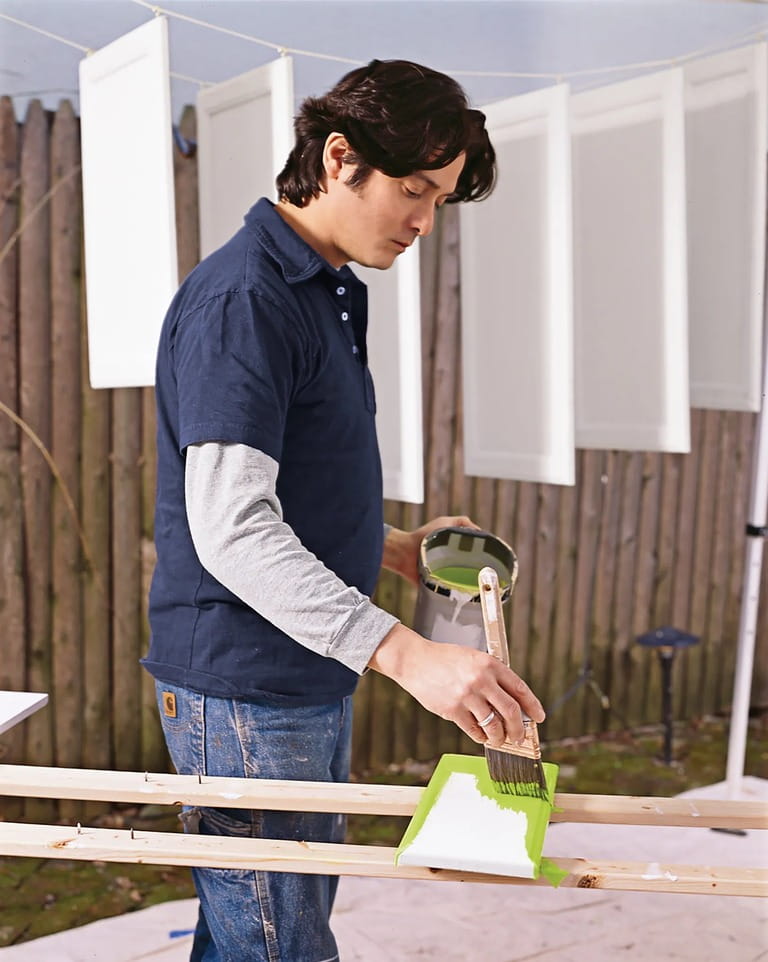
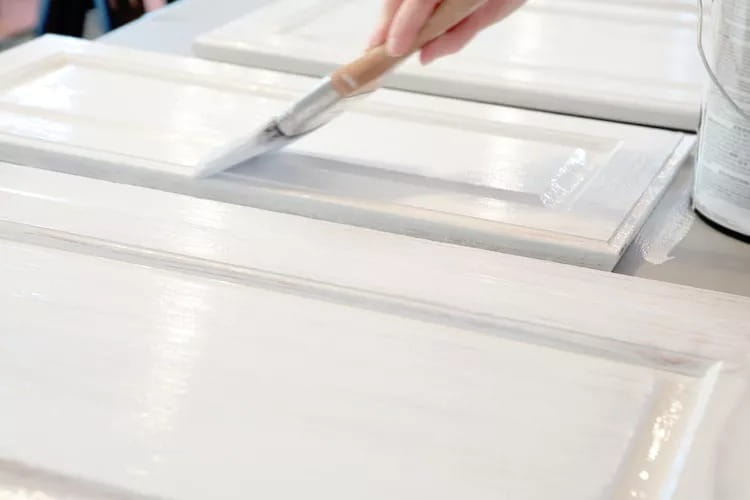
6. Apply thin, even coats and allow proper drying time.
For a long-lasting paint finish, you should apply several thin coats of paint rather than one thick layer as they adhere better and dry more evenly. Remember to allow each coat to dry completely before applying the next. This ensures better adhesion and prevents peeling. Your patience pays off with a beautifully durable paint layer.
7. Allow each coat to dry fully before applying the next.
After painting, cabinets may feel dry in a few hours. However, the true curing process that provides your cabinets with a hard and durable finish takes several days with a minimum of 48 hours. While waiting, place cabinet doors in a low-traffic area (like a garage) to avoid accidental bumps.
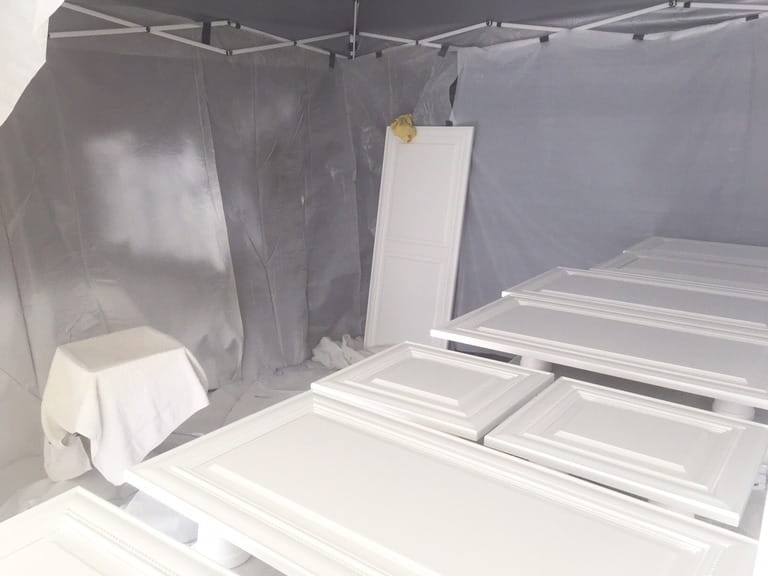
8. Paint in a clean, dry, and well-ventilated area.
When it comes to painting kitchen cabinets, find a clean environment where dust and dirt won't settle on your wet-painted kitchen cabinets, resulting in a smoother finish. It is also very important to choose a dry area that helps not only the paint adhere better but also prevents issues such as peeling or bubbling. Finally, good ventilation matters! Choose a space that reduces those pesky paint fumes. Your lungs will thank you.
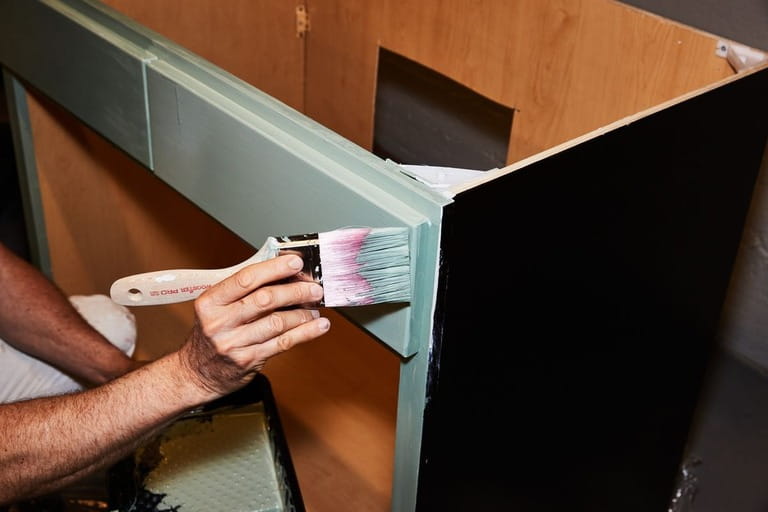
9. Invest in high-quality brushes and rollers.
High-quality brushes and rollers can give you a smooth, fine finish, but that's not the whole story. It's important to pick the suitable tool for your kitchen cabinets.
For example, a large roller is perfect for cabinets with big, flat surfaces. It covers more area with fewer strokes, which helps prevent streaks and brush marks. On the other hand, a smaller roller is great for detailed work and tight spaces like edges, corners, and the insides of doors. The same goes for choosing the paintbrush.
10. Wear a mask, gloves, and ensure good ventilation.
Wearing gloves can protect your skin while sanding while scraping, and goggles, glasses, and dust masks can shield your face from paint chemicals. Even if your sanding machine is noisy, don't forget to put on ear plugs. Also, it's best to work in a well-ventilated area if you're using paint with fumes.
11. Test paint samples in various lighting conditions.
Testing paint samples in different lighting conditions such as natural light and artificial light at different times of the day is a smart move. It's like giving your kitchen a little fashion show! If a color doesn't play well with your countertops, backsplash, and flooring, consider trying another shade on the inside of your cabinet door. That way, you'll find the perfect hue that makes your kitchen sing!
12. Apply a durable topcoat to protect the finish.

A topcoat can make your paint finish more durable, scratch-resistant, and chemical-resistant. There are many types of sealant for cabinets such as polyurethane, wax, acrylic varnish, and lacquer.


