To keep your dryer operating effectively for years, it’s crucial to regularly maintain the machine, especially the vents. This small task takes you no longer than 30 minutes but significantly helps it reduce the risks of clogging and fires.
For non-experienced users, here is how to clean your dryer vent and reduce fire risk.
How To Know If Your Dryer Needs To Be Cleaned
Below are some common signs to let you know that it’s time to clean your dryer:
- When working, your laundry room gets hotter and hotter excessively
- Clothes when leaving your dryer usually have strange odors or burning smells
- Your dryer takes longer time to dry out your clothes than usual
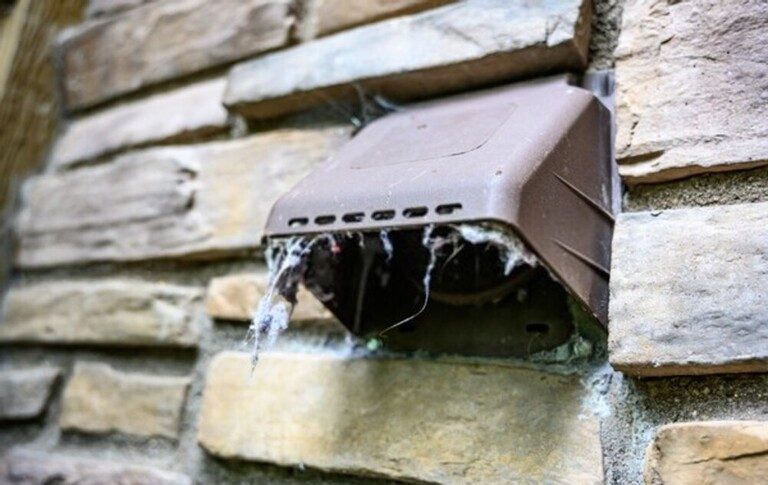
- The external and internal vent cover has lint buildup

How to Clean Your Dryer Vent
Preparation
Here are all the tools and equipment you should have to clean your dryer vent:
- A vacuum cleaner and hose attachment
- An extendable brush
- A bucket and rags (optional)
Step 1: Disconnect The Dryer
For electric dryers, unplug their power cord and use duct tape to secure it to the back of the appliance.
For gas dryers, turn off the gas source. Carefully pull the appliance (about 1-1/2 feet to 2 feet) out from the wall, find the shut-off valve (usually positioned in the back of the dryer), and unplug it.
With those dryers featuring a steam cycle, prepare a bucket and some rags, then turn off the water valve and disconnect the water supply line.
Next, this step is for all types of dryers – remove the hose and vent duct attached behind the appliance and on the wall. All the unplugged items should be stored in the dryer drum.

Step 2: Clean The Vent
2.1) Removing Dust And Dirt
You should clean both in and around the two ends of your dryer vent.

Use your vacuum cleaner and its hose attachment for the best results. Tips: To find the output of the vent where it draws excess air out from your dryer, go outside and remove the vent tube cover.

Make sure to suction all dust and dirt in the dryer vent.
2.2) Removing Lint
Your vacuum cleaner can’t get inside the vent tube deeply enough to remove lint, that is why you should prepare a brush with an extendable handle.

After vacuuming, insert your brush deep down to the duct, move it back and forth while keeping the rotation moving.

Tips: If you don’t have a brush like that. Buy a dedicated cleaning kit for dryers online; it’s very easy to find.
Step 3: Reconnect The Appliance
After cleaning the dryer vent inside out, it’s time to reconnect it. But beforehand, let's make a quick check on its ducts – whether there are any damaged or worn-out components that need fixing or replacing.

Also, remember to re-attach the vent cover on the outside.
Turn on the gas source, water source, or plug the power cord, depending on the type of your dryer. Push the appliance to its original position.
Turn on the air-dry setting and let it run for 10-15 minutes to dislodge any residue as well as to make sure that you reconnected it properly.
How To Prevent Lint Buildup?
Lint buildup is the main cause of clogging in dryers. To prevent it as well as to make later maintenance tasks simpler, here are some tips for you:
- After every use, remove lint from the lint trap of your dryer

- Brush or vacuum the lint screen twice a month

- Sweep and brush the area around your appliance to remove dirt and dust
- Use vent cover to protect the external vent from pests and debris, and clean the surrounding area frequently

How Often Should You Clean Your Dryer?
For the best fire prevention and to keep your dryer running efficiently, carry out a deep clean 2-4 times per year. Besides, visible lint should be removed on a regular basis.
If your dryer takes extra time to dry out your clothes than usual, that is a common sign to let you know it is time to clean the vent.
When You Should Hire A Professional
While you can clean your dryer vent with a kit, the results are not as excellent as the work of a professional. Therefore, if you fall into one of the following cases, call a professional:
- The vent is elongated with some curves
- The dryer is positioned on a higher level, in the basement level, or an internal room
- You’re using a natural gas dryer
Conclusion
Now, you have learned how to clean your dryer vent and reduce fire risk. If you have any inquiries relating to this topic, please do not hesitate to let us know by leaving them in the comment section. Do you find our guide helpful? Please share your thoughts.


